
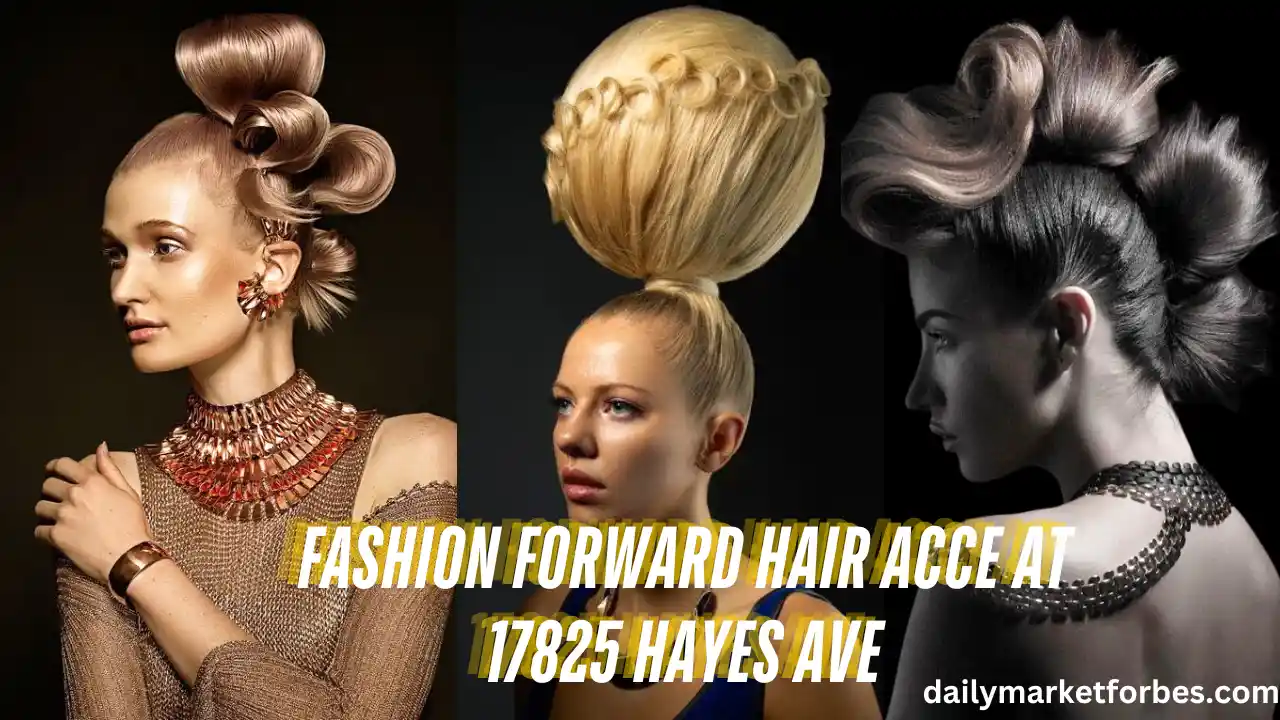
Fashion Forward Hair Acce at 17825 Hayes Ave is an easy and stylish way to enhance your look, adding a splash of creativity to everyday hairstyles. Located at 17825 Hayes Ave, this guide is for anyone looking to transform their hair game with custom-made pieces. Whether you’re aiming for a casual look or something more elegant, we’ve got you covered.
Outline
- Introduction
- Step 1: Identify Your Hair Accessory Goals
- Importance of personal style and occasion
- Step 2: Choose the Right Materials
- Essential supplies for crafting hair accessories
- Step 3: Selecting the Perfect Design
- Customization options based on hair type
- Step 4: Measure and Cut Fabrics or Ribbons
- Precision in sizing for comfortable wear
- Step 5: Incorporate Embellishments
- Ideas for beads, stones, and other decorative elements
- Step 6: Assemble the Hair Accessory
- Tools needed for attaching materials securely
- Step 7: Finish the Edges
- Importance of clean, polished finishes
- Step 8: Test for Comfort and Fit
- Make sure your accessory stays in place
- Step 9: Styling Your Hair with the New Accessory
- Simple hairstyle ideas for various occasions
- Step 10: Maintain and Clean Your Hair Accessory
- Tips for preserving the accessory’s quality
- Step 11: Create a Collection for Different Looks
- How to mix and match accessories for versatility
- Conclusion
- FAQs

1. Introduction
If you’re looking for a fun, creative project that adds flair to your hair routine, look no further than custom hair accessories. Located in the heart of 17825 Hayes Ave, this how-to guide will walk you through crafting your very own fashion-forward hair pieces. Whether you’re making headbands, clips, or scrunchies, these steps will help you design and create unique pieces suited for any occasion.
2. Step 1: Identify Your Hair Accessory Goals
Before you begin gathering materials and planning your designs, it’s essential to identify your goals. Ask yourself what kind of accessory you want to create and how it will fit into your wardrobe. Consider factors like:
- Occasion: Will you be wearing this accessory for casual day-to-day use, or do you need something more formal for special events?
- Style Preference: Do you prefer minimalist designs or bold, eye-catching pieces?
- Hair Type: Is your hair thick, fine, straight, or curly? The type of accessory you create should cater to your hair’s needs.
Image Description: A woman looking in the mirror, holding up different types of hair accessories (headbands, scrunchies, clips), evaluating them against her hairstyle.
3. Step 2: Choose the Right Materials
Once you know what kind of accessory you’re aiming for, it’s time to gather materials. For headbands, you’ll need fabric, elastic, and glue. Clips may require metal or plastic bases, along with beads or ribbons. Ribbons and fabrics come in a variety of textures, from satin to velvet.
Image Description: A flat lay of fabric rolls, elastics, metal clips, and beads neatly arranged on a crafting table.
4. Step 3: Selecting the Perfect Design
Choosing the right design is essential in ensuring that the accessory not only looks good but also complements your hairstyle. The design will vary depending on the accessory type. Here are a few ideas:
- For Headbands: Go for thick, padded designs if you have thicker hair. If you have fine hair, slim and sleek designs will look better.
- For Clips: Opt for smaller, delicate clips for a more subtle look or larger, statement-making pieces for a bold fashion statement.
- For Scrunchies: Use lightweight fabrics for casual, everyday use, and more luxurious materials like velvet or silk for fancier occasions.
Image Description: A woman’s hand holding a thick, padded headband in one hand and a thin, delicate headband in the other, comparing them to her reflection in the mirror.
5. Step 4: Measure and Cut Fabrics or Ribbons
Accuracy is key when cutting fabrics or ribbons for your hair accessory. Measure around your head or clip base, leaving extra fabric for any twists or folds you want to include.
Image Description: A person using a measuring tape to wrap around their head, marking the length of a piece of fabric before cutting it with scissors.
6. Step 5: Incorporate Embellishments
The true charm of fashion-forward accessories lies in the details, and adding embellishments can transform a simple hair accessory into a masterpiece. Here are some ideas for embellishing your creations:
- Beads and Pearls: Add a classic touch to headbands or clips.
- Rhinestones: Perfect for creating sparkly, eye-catching accessories.
- Fabric Flowers or Bows: Great for adding texture and volume.
- Lace or Fringe: For a bohemian, chic look.
Image Description: Hands working with a glue gun to attach tiny pearls and rhinestones to a fabric headband, with extra decorative elements laid out around the work area.
Pro Tip:
When choosing embellishments, consider the weight of the materials. Lightweight items are best for fine hair, while thicker hair can handle heavier decor.
7. Step 6: Assemble the Hair Accessory
This step is where all your materials come together. Depending on the type of accessory you’re making, you may need to sew pieces together, glue materials, or attach them with clips. Here’s a breakdown of the assembly process:
- For Headbands: Use a hot glue gun or needle and thread to attach the fabric to a headband base. Add embellishments like beads or bows after securing the fabric.
- For Scrunchies: Fold the fabric lengthwise, sew along the edge, and then insert elastic through the fabric tube. Sew the ends of the elastic together and stitch the fabric opening closed.
- For Clips: Attach your decorations to the clip using a glue gun. Make sure the embellishments are evenly spaced.
Image Description: A step-by-step sequence showing a person gluing fabric onto a plastic headband base and then adding small beads to the fabric.
Pro Tip:
Let the glue or thread dry completely before wearing the accessory to avoid damaging it.
8. Step 7: Finish the Edges
Finishing the edges of your accessory is essential for a polished look. If you’re working with fabric, you’ll want to hem the edges to prevent fraying. For plastic or metal accessories, smooth the edges with fine-grit sandpaper to avoid any roughness.
Image Description: A person using a small sewing machine to hem the edges of a fabric headband, ensuring the material stays in place.
Polishing Tip:
Adding a lining or a second layer of fabric can also help prevent rough edges from irritating your scalp or hair.
9. Step 8: Test for Comfort and Fit
Before styling, make sure the accessory fits comfortably and stays in place. Adjust the size if necessary by adding or removing fabric or elastic. Test it out by wearing it for a few minutes.
Image Description: A person testing the fit of a headband in front of a mirror, adjusting the band for comfort.
Comfort Tip:
If the accessory feels tight, consider adjusting the elastic or fabric. A comfortable fit ensures you can wear it for extended periods without discomfort.
10. Step 9: Styling Your Hair with the New Accessory
Now that your accessory is ready, it’s time to style your hair! Try a sleek ponytail with a chic ribbon or wear a bold headband to complement loose curls. Don’t be afraid to experiment with different hairstyles.
Image Description: A girl with curly hair wearing a stylish headband, looking in the mirror, and trying different hairstyles.
Style Tip:
Experiment with different looks. Your new accessory can be the focal point of your hairstyle or an accent to enhance your overall outfit.
11. Step 10: Maintain and Clean Your Hair Accessory
To keep your accessory looking its best, clean it regularly. For fabric-based pieces, handwash them gently with mild soap. For metal clips, wipe them down with a damp cloth.
Image Description: A person gently hand-washing a fabric headband in a sink with soap and water.
12. Step 11: Create a Collection for Different Looks
Why stop at just one accessory? Mix and match different designs to create a collection that fits various outfits and occasions. Have casual pieces for daytime and elegant ones for special events.
Image Description: A display of multiple hair accessories, neatly arranged on a table, showing different styles for various occasions.
Conclusion
Creating your fashion-forward hair accessories is a rewarding way to express your style while saving money. Whether you’re a seasoned crafter or a beginner, these simple steps will help you design pieces that suit your taste and hair type. So why not start your collection today and elevate your everyday look with a unique twist?
The Complete Guide to Using the Hair Washer GWT460AW Manual, Tips, and Troubleshooting
Papaya Moisturizing Cream in Peru Doctoral Complete Detail
FAQs
1. Can I use recycled materials to make hair accessories?
Absolutely! Using recycled materials like old fabrics or jewelry can add a sustainable element to your accessory collection.
2. What tools do I need to start?
Basic tools include scissors, a hot glue gun, measuring tape, and any decorative elements you want to add.
3. How can I make sure the accessory fits comfortably?
Always measure before cutting, and adjust with elastic or fabric as needed. Testing the fit beforehand ensures comfort.
4. How do I care for handmade accessories?
Handwash fabric accessories, and for metal pieces, wipe them down gently with a cloth to maintain their shine.
5. What hairstyles work best with these accessories?
From ponytails and buns to loose waves, you can pair these accessories with almost any hairstyle. Get creative with different looks!


Be First to Comment